Pika Training - Customizing Search Results & Full Record Display
Customizing Search Results
Go to Pika Configuration and Library System

Go to Searching & Search Results

Show Search Tool is located up at the bottom of the page after a patron either does a search or views a Browse Category. The Search Tools is where patrons get RSS feed, email, save or export a search.


The checked off items will show in the Search Results when searching for items.

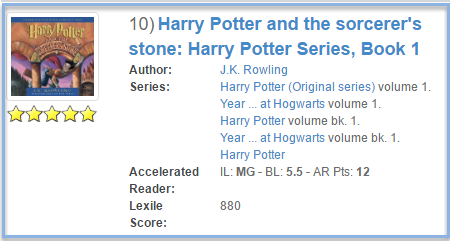
Here is an example of some of the fields that are checked off in the Search Results. Since the records are grouped, you can see more of the checked fields when you open up an edition.

When the Always Show Selected Search Results Main Details is checked, each of the selected optional details will always be displayed. It will have specific details or it will say, “Varies, see individual formats and editions” or “Not supplied”. When off, the selected Optional details will be displayed only when the detailed information is supplied.

Here is an example of the Optional details displayed when the Always Show Selected Search Results Main Details box is checked.

Customizing Full Record Display
Go to Pika Configuration and Library System.

Go to Full Record Display.
If the Show Text This, Show Email This, and Show Sharing To External Sites boxes are checked, you patons will see the links when searching for items.


The Show QR Code information shows up in the Staff View, once you click go into the full record view.


Show Tagging is something that Marmot encourages you to turn off. Similar functionality can be accomplished using public lists which are more powerful. We do have support for it, because there are a number of tags still in the system.


Notes Tab Name can be changed since some libraries prefer alternate wording like “Description”. This is for bibs that have the 520 Note field.


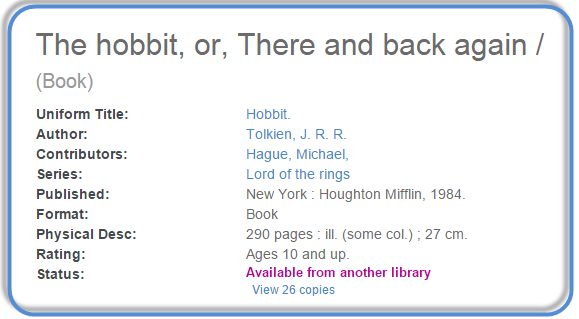
Here is an example of a Notes Tab Name changed to Description.


The Show 856 Links as Tab is for anything that shows up in the 856 field. Enabling this functionality will add a Links bar in the same area where Copies and Table of Contents are shown. The location can be configured within the More Details option.

Here is an example of the Links for a record using the Show 856 Links as Tab.

Show Check-in Grid is available for use with Millennium and Sierra systems that have the serials module enabled.

Here is an example of a library that is using the Show Check-in Grid.

Show Staff View can be disabled, if you do not want to see it. The Staff View is located at the bottom of the page for each item.


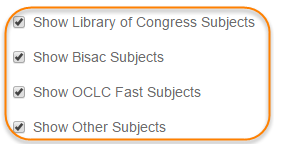
Customization by Subject
Checking any of the subject boxes will show different information in the full record display.
Here are examples of Library of Congress and Bisac subjects.


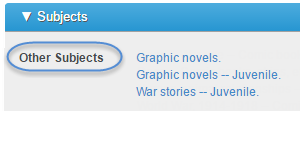
Here are examples of OCLC Fast and Other subjects.

Customizing the Details Sections
Which details to show in the main/top details section controls what information is shown up at the top or bottom of the full record display. If you remove any of the items listed below, they will no longer show up in the full record display. Instead, they will show up under the More Details tab. It is your decision about how much information you want shown in the full record display. Note: This configuration applies to individual records (not Grouped Works).


Here is an example of an item with information at the top of the record, as well as More Details.

Full Record Options can change the order of the bars listed in the full record display. You can also change what is opened or closed by using the Collapse By Default. These changes are a personal preference for each library.
You can Sort each Source by dragging and dropping them using the 
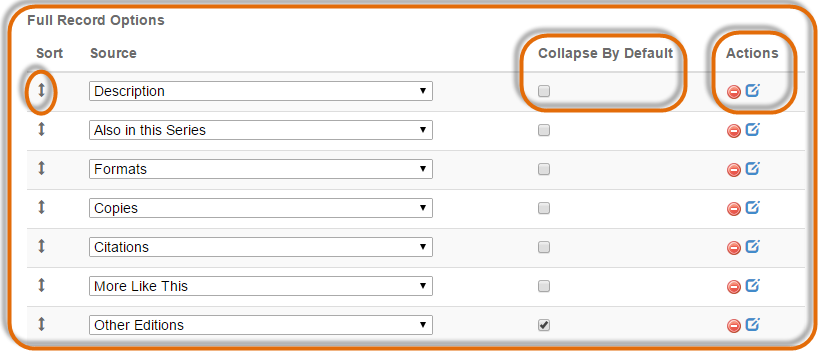
Here is an example of an item that has the Description, Also in this Series, and More Like this open. The rest of the information is checked to Collapse By Default.


System Admins Only
The Reset More Details To Default resets all the information in the Full Record Display. If you do not have the Full Record Options setup, you can click on this button, and it will bring everything over. This is a good starting point.

If you completely delete a Full Record Options, it does not show in the full record display.

Customizing Holding Summary
Go to Pika Configuration and Library System.
Go to Holdings Summary.

Show it’s Here will show the message, “It’s Here,” instead of On Shelf when Pika detects that a patron is inside your library based on IP address or the branch parameter.
